2D background image created from point cloud

How best to use jpg images from point cloud, as backgrounds to 2D building elevation drawings?
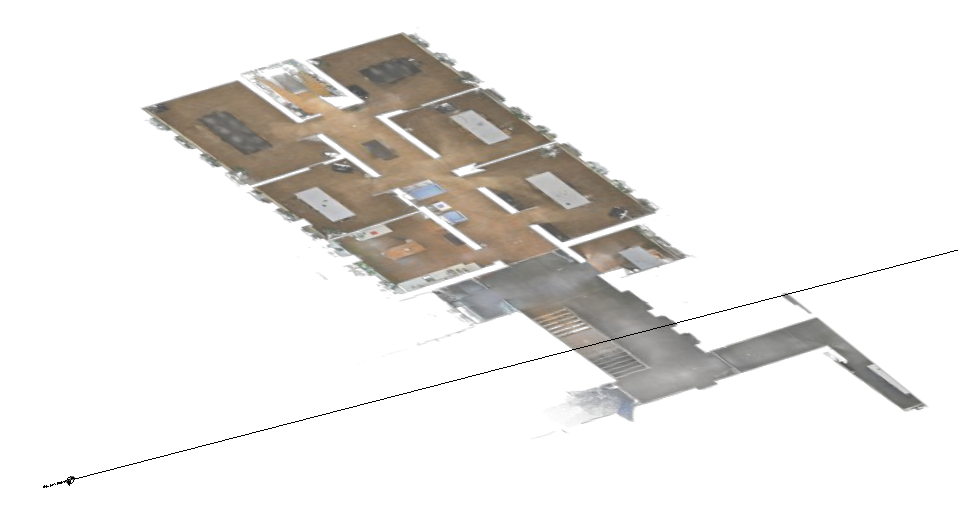
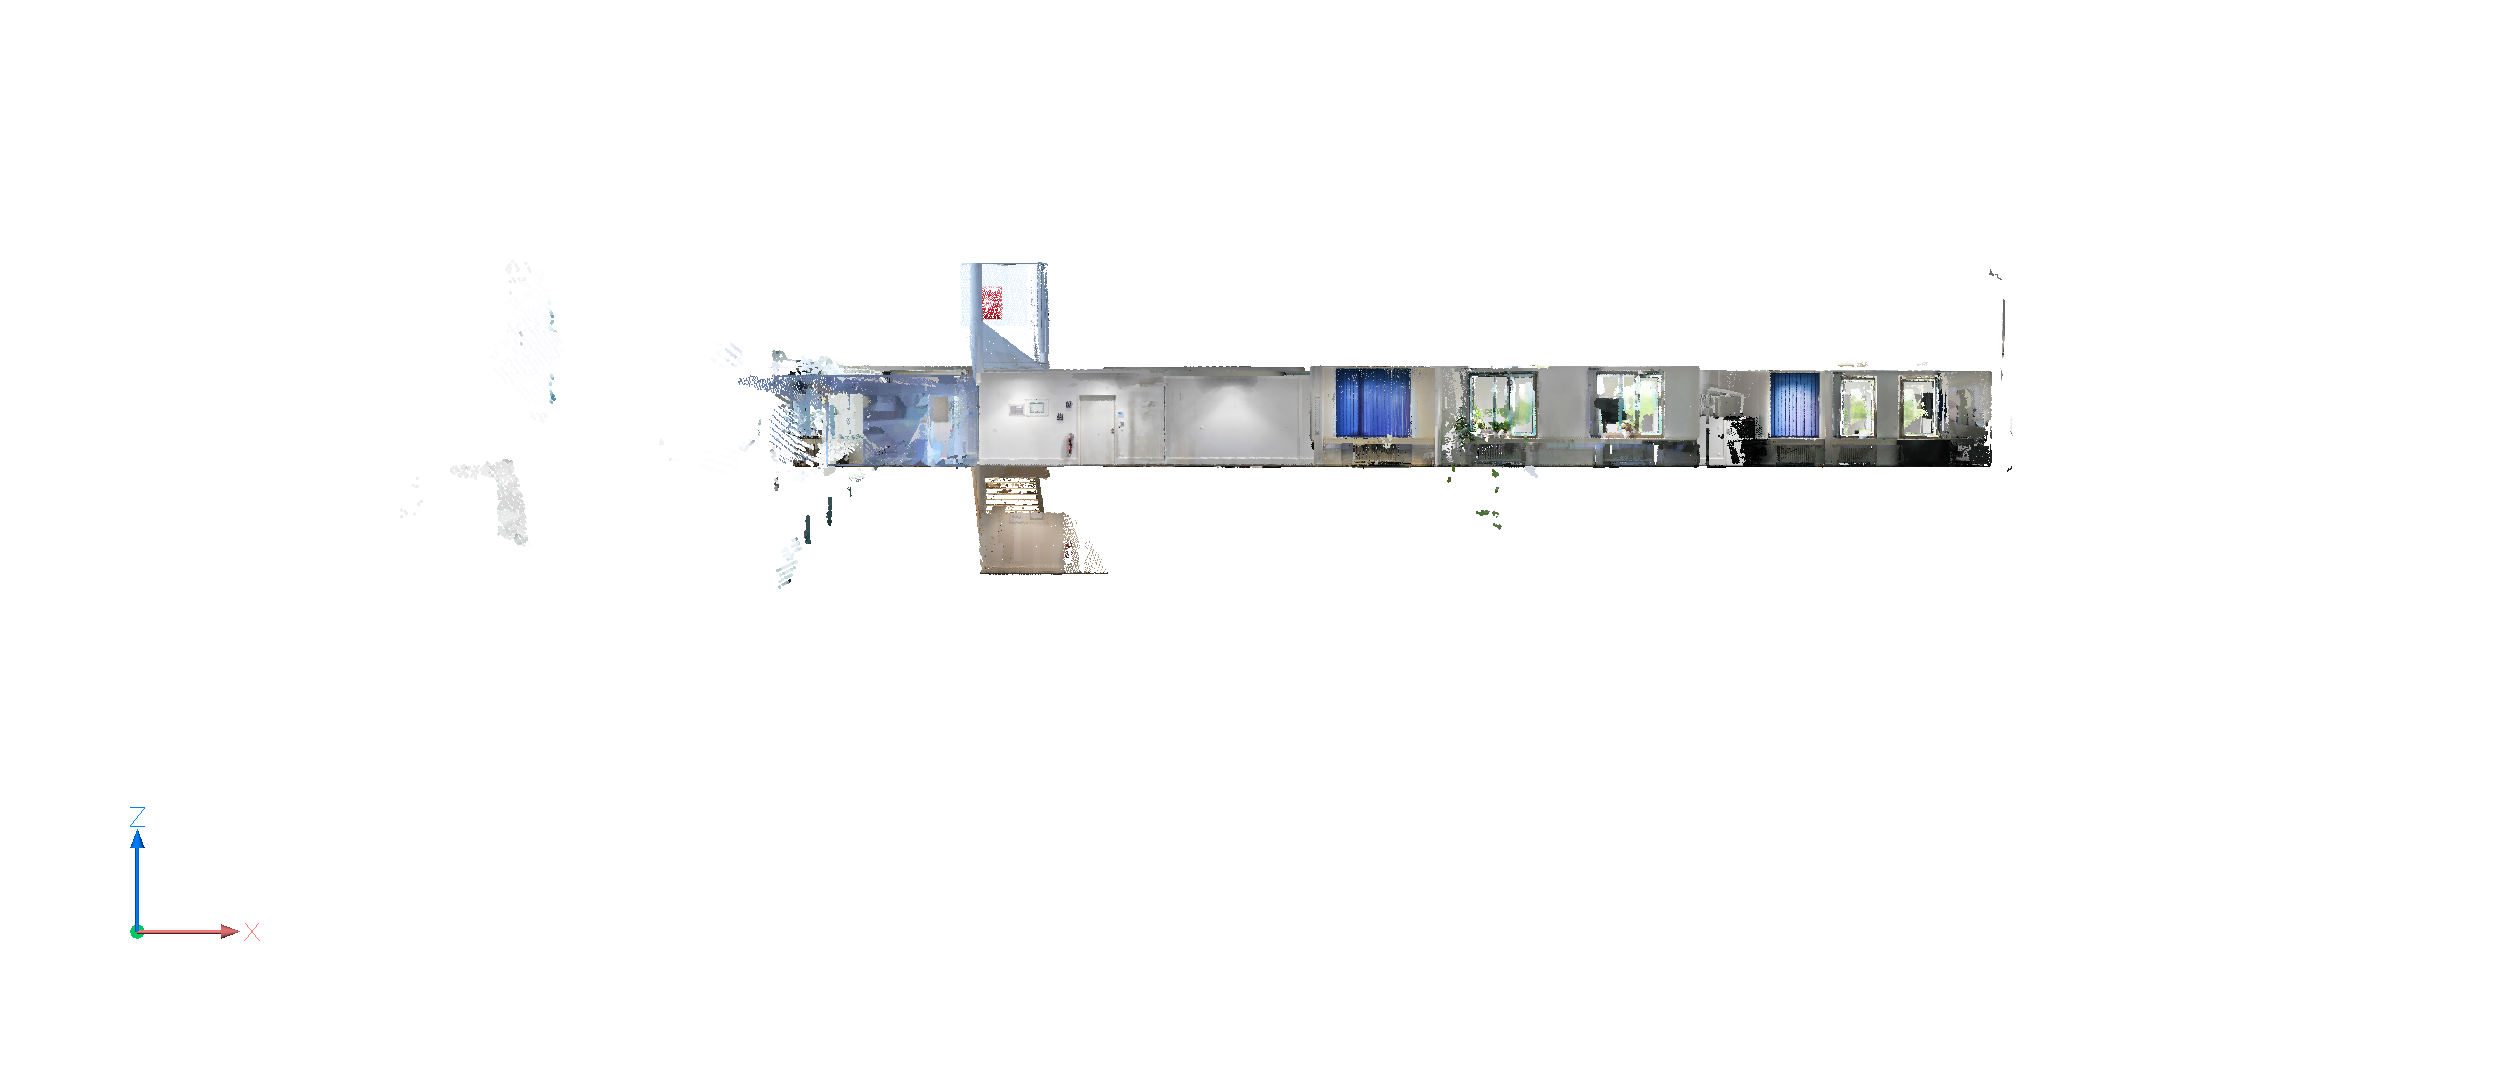
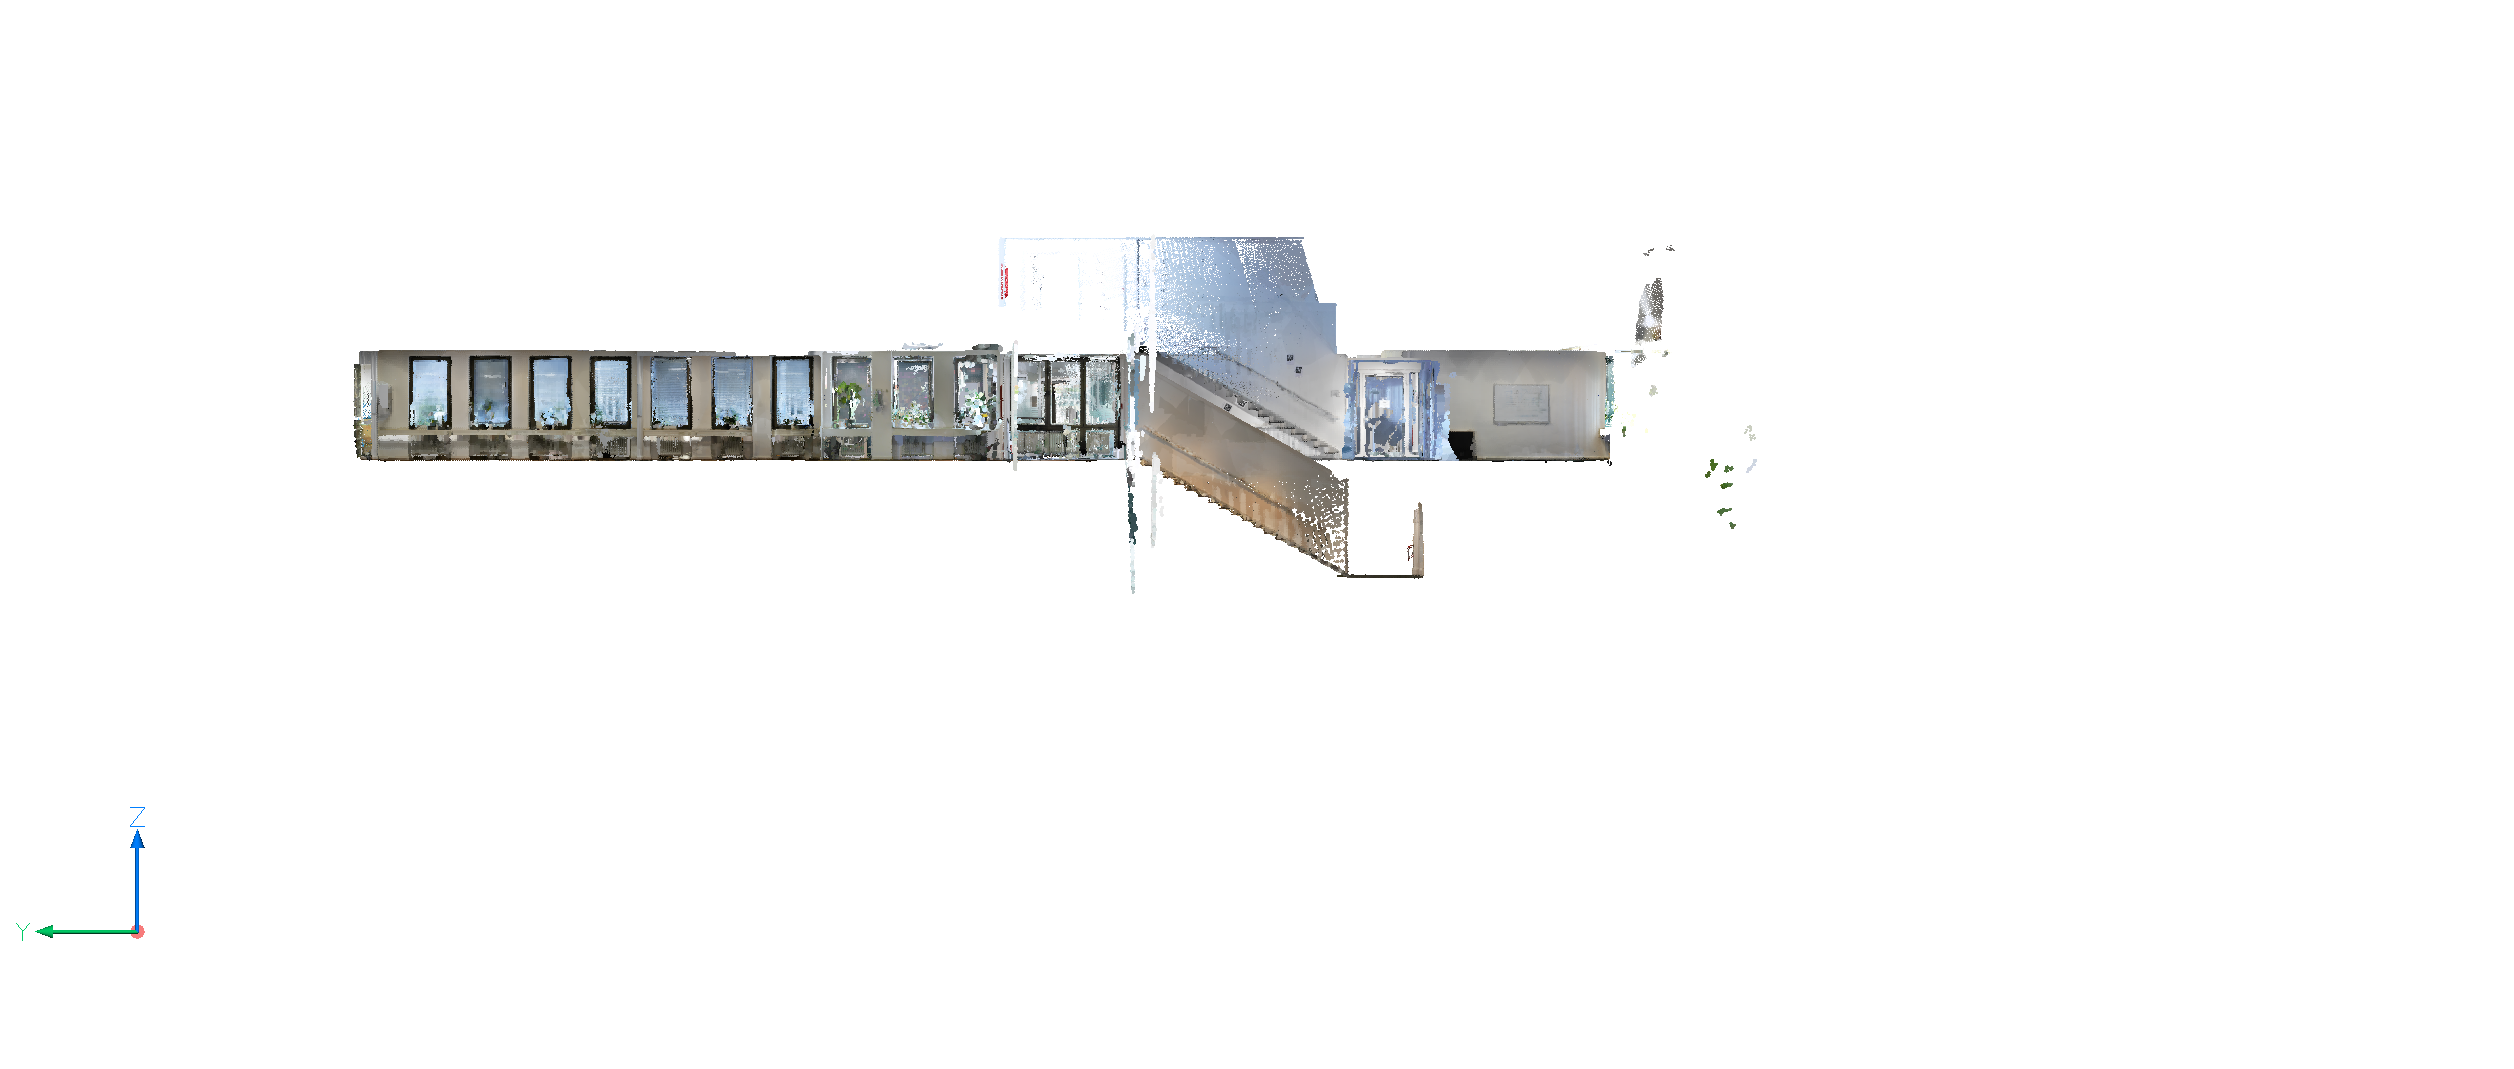
The existing building (a Listed (protected) thatched cottage and 20 year old extension) is surrounded by trees in its garden. A point cloud has recorded the building and surrounding trees over a wide area. Applying a clip volume to the point cloud, aligned with the building's elevation plane, I get a screen image of the view of the trees 'beyond' that plane, including the building's elevation. Next to capture that view as jpg, using Windows Snipping Tool. Then in the Paperspace viewport showing my 2D drawn view of the as-existing elevation, I insert, scale and register the jpg so its image of the building lies exactly on the drawn image of same. Finally, I clip the jpg close around its image of the building, so the drawn image of same is visible instead.
See the attached result - unfortunately I can't attach the resultant A3 as pdf, so look at Paperspace tab 6. The 'South Elevation' is as described, the 'South Elevation from garden' is same except that the point cloud clip volume is created further back from the building's elevation plane, so that jpg shows the view of the building and surrounding trees as seen across raised grass area. It's meant to show how well hidden the building is, therefore how little imact our propsed alterations to the extension will have, on its surroundings.
Questions -
1) Is taking a screenshot jpg the best way to capture an image from a point cloud for use as 2D background image in this way? For better image quality, could it be e.g. an extract of the point cloud itself?
2) If screenshot jpg is the best way, would another screengrab ap do better than Windows Snipping Tool? I'm thinking, less pixelated, better colour.
3) In general, how to get better image, especially colour? In pdf, and when printed, the colour is quite drab.
BTW, un undocumented discovery, when clipping a jpg, is that once it's been clipped by a polyline, the polyline (red) can be deleted or Hidden, as the clipped image (blue outline) can now be directly re-shaped by dragging the Grips it's now acquired - similar to a Hatch area.
0
Comments
-
....
0 -
....0
-
If you tried to view the attachment, please try again - took a while to correct and re-attach it, via Edge, as the forum is still dysfunctional in Firefox.0
-
Why don't you print the drawing out as a PDF, then use PDFATTACH to bring it back in. If you print from a paper space layout, then you can include some reference vectors to help with placement when you bring it back in.
Regards,
Jason Bourhill
BricsCAD V22 Ultimate
https://cadconcepts.co.nz/0 -
Support suggested POINTCLOUDPROJECTSECTION which sounds promising if it captures a raster image direct from the data without any screen capture process or even the graphics card. But I can't make it work, Help is very unexplanatory. Can anyone explain what I'm missing, what to do?
I created the BIMSection volume, selected it, typed POINTCLOUDPROJECTSECTION>Apply - nothing, except the whole of Modelspace disappeared, except the BIMSection volume, the slice of pointcloud within it, and the PC's bounding box when selected. Why? I tried things - to save it externally, to reduce the volume to minimum, to increase pixel size ("pixel size too small"). Is it right, it won't work on a pointcloud crop or cropsolid?0 -
Hi Tom,
It works for me, in my drawing, even with a cropped point cloud.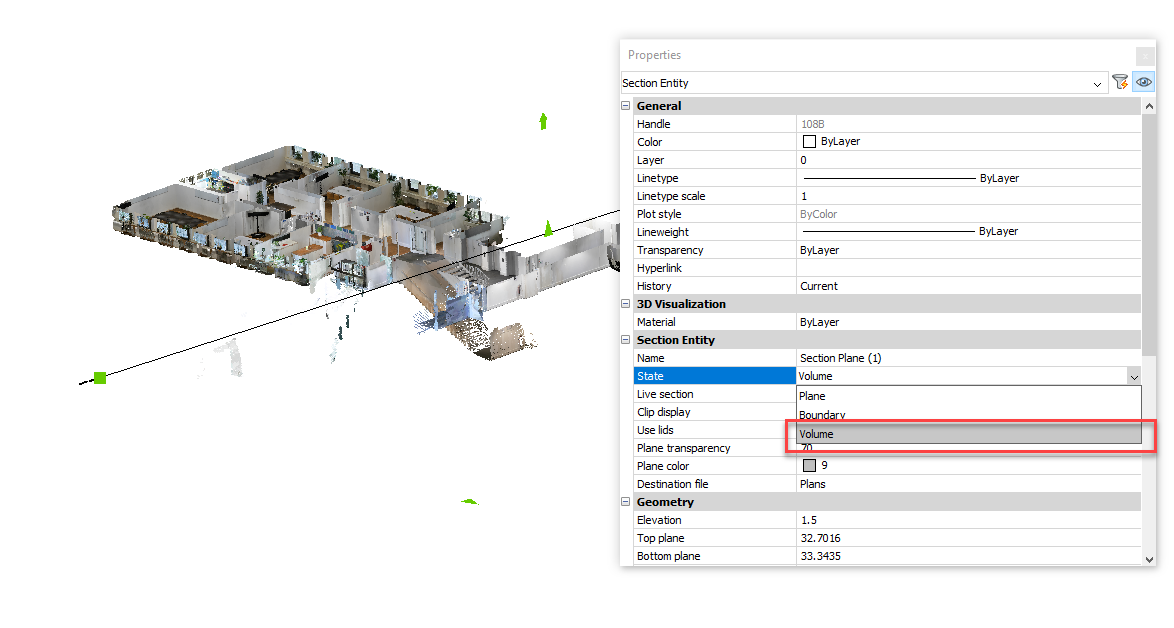
You might need to raise a further SR to find out why it doesn't work for you.
That said, I'm not sure how much value the generated image is. As far as I can work out the image isn't passed through as a background when generating a BIMSECTIONUPDATE to the 2D drawing view. Also don't see an option to save the image either.
Regards,
Jason Bourhill
BricsCAD V22 Ultimate
https://cadconcepts.co.nz/0 -
You might like to check out the PNGOUT command too. This dumps the current screen view to .PNG.
The attached LISP samples assist with creating screen dumps.
Assuming you're using BricsCAD V22, then you will also find these in the following folder:
%APPDATA%\Bricsys\BricsCAD\V22x64\en_US\Support\Bim\Scripts
ViewGenerator.lsp creates a set of standard named VIEWs.
View2Png.lsp iterates through named views in the drawing and outputs them to PNG.
Regards,
Jason Bourhill
BricsCAD V22 Ultimate
CAD Concepts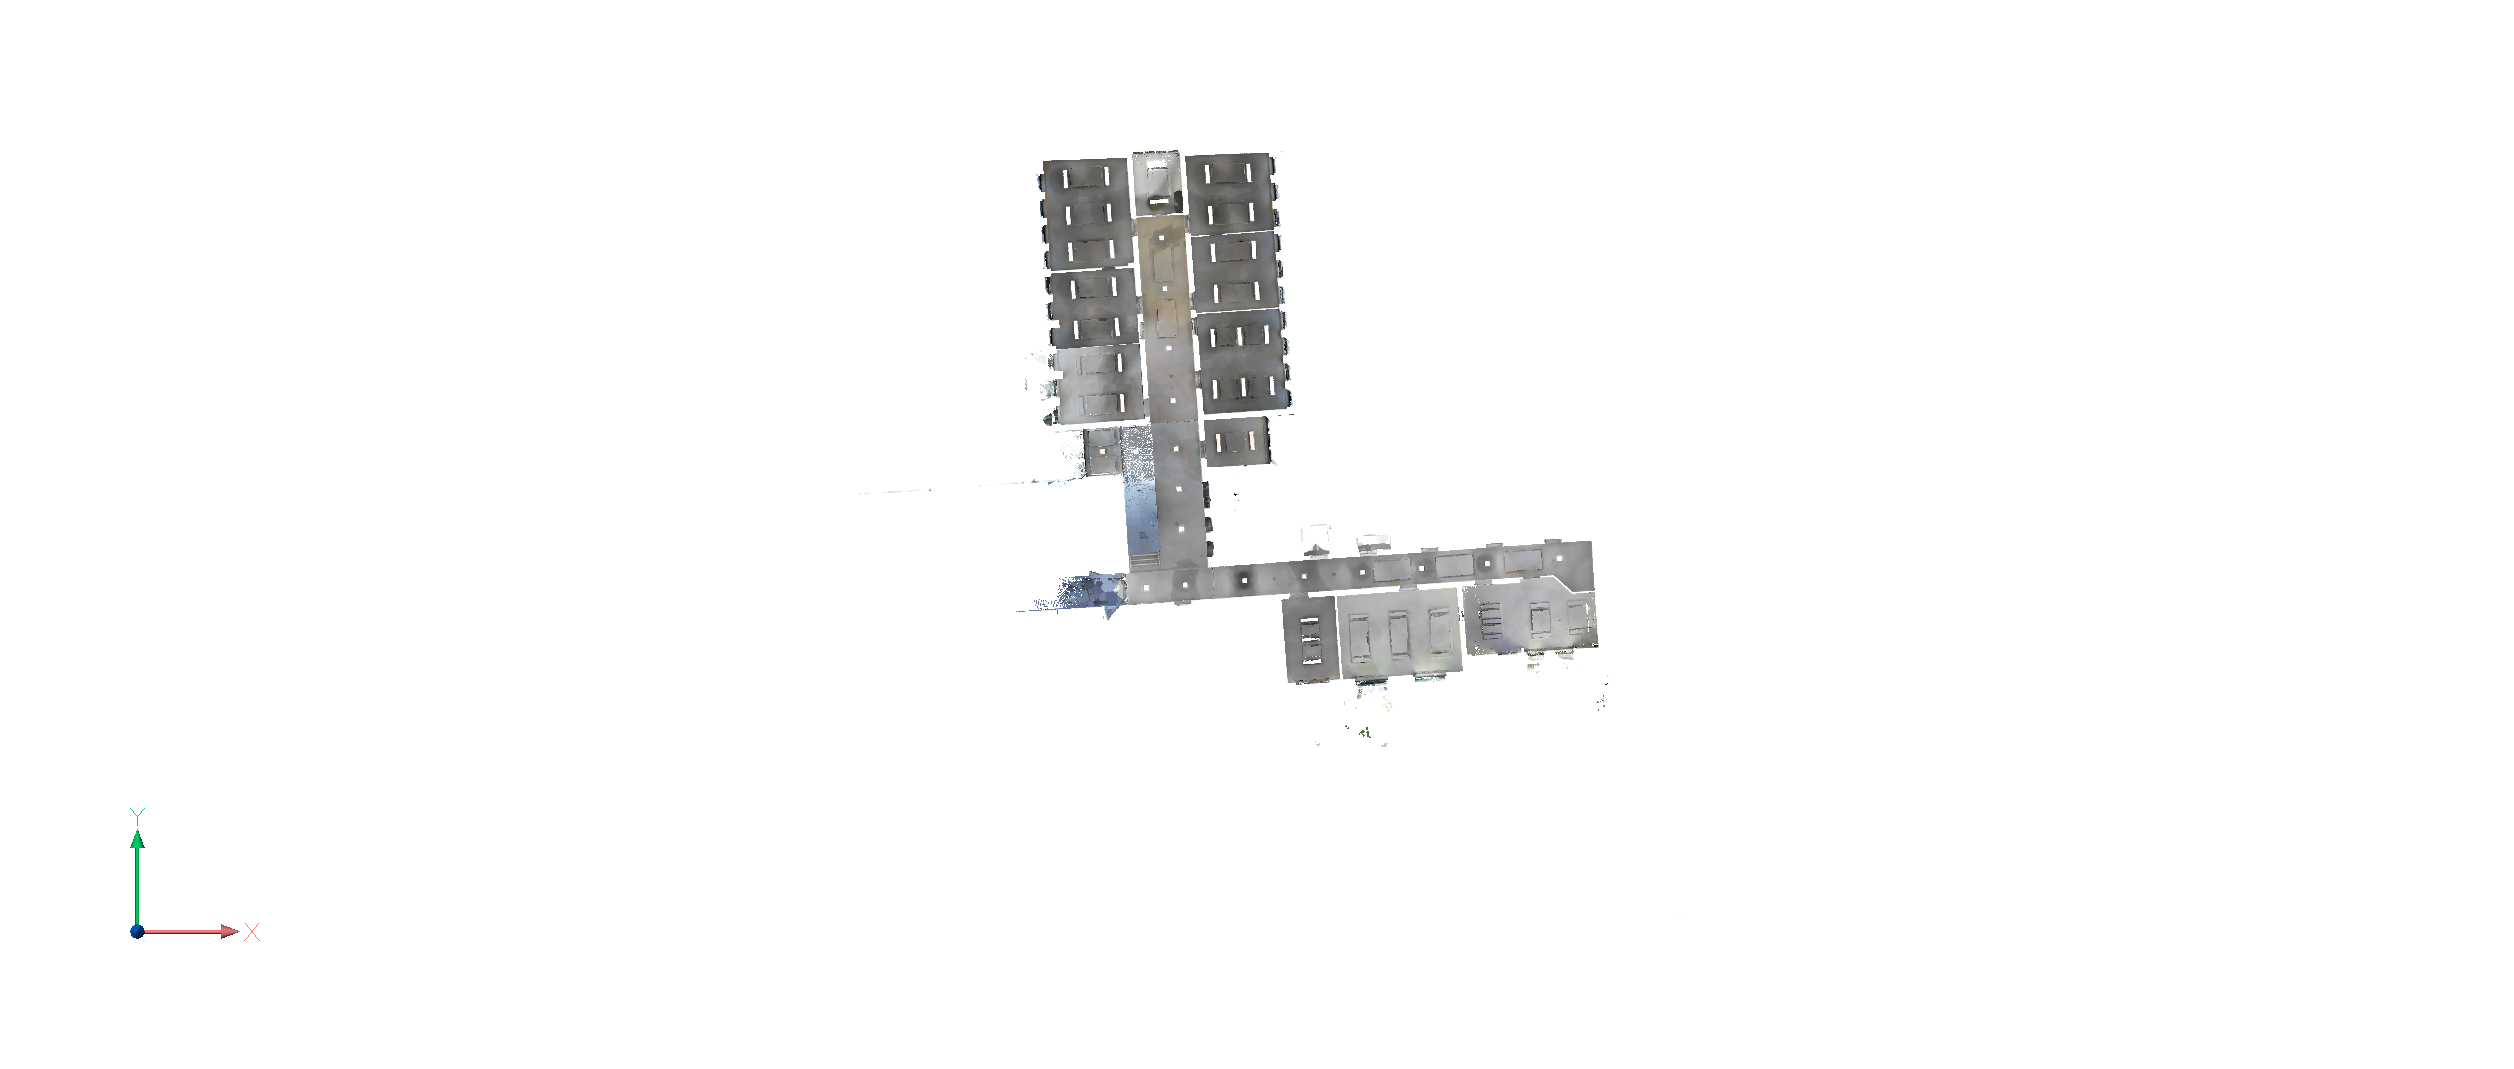
0 -
Thanks Jason. I found PNGOUT is quite lo-res, pixelated, no better than MS Snipping Tool. I've made a Feature Request, for full-featured raster capture maybe within PrintAsPDF, choosing jpg, png or others incl choice of quality by %age (not just lo or hi as in PdfCreator) incl 100% (lossless) for jpg.
In fact, I've found lo-res rasters screen-captured from the pointcloud have worked very well and attractively as background image, but have had to massively amp up their saturation, gamma and contrast as the capture seems to degrade the already-wishy PC image, worst of all if saved as pdf. I've saved as png because they can then be made transparent in paint.net0 -
....
0

